Cinnamon Buns
This was one of the hardest things I have ever had to bake. I'm not used to baking with yeast and things just didn't go well from the onset. I tried looking for a foil tin big enough to bake these in, but they were all sold out. I couldn't find the dough hook to attach to the mixer, so I had to knead the dough by hand. This very same dough ended up getting too wet, which made it sticky, and it looked like it was never gonna rise. But making these buns taught me one thing: never give up. Because I tell you, I was ready to take that sticky dough and toss it in the bin, remove all evidence of its existence and cry under the dining table. Alright, maybe I'm exaggerating a bit there, but that's how I felt! I was approaching a recipe I had never done before, I had no idea of what things were meant to look or feel like, and roughly had an idea of what they were meant to taste like. I just had Nigella's book, How to be a Domestic Goddess and a single picture, similar but much better than my own below. Nevertheless, with every mistake we learn, and in this case I used a previous success to learn how to deal with the wet dough. I'm used to making shortcrust pastry because of my Jamaican Patties, so from that I knew to add more flour to a dough that is too wet; balance out the wetness with some dryness. So this is what I did, I took handfuls of flour and added it to that wet sucker until it formed an acceptable dough ball. And everything went plain sailing from there... kinda. I know my mistake was adding too much liquid, but the recipe book did say, "Melt the butter and whisk it into the milk and eggs, then stir it into the flour mixture." Looking at the same recipe ('Norwegian Cinnamon Buns') on Nigella's website it says, "Melt the butter and whisk it into the milk and eggs, then stir enough of this into the flour mixture to give a soft dough." Little difference in editing that created a big mistake. However, I came, I saw, I conquered and I'm ready to make these again and again. They were delicious, spiced with cinnamon and so light and fluffy. The exterior, had a slight crunch due to the egg glaze, but was still enjoyable. They were so moreish, they only lasted two days, maybe two and a half tops. If you enjoy a challenge and want to reap the rewards, have a go at this recipe.

The first step on my learning journey was to melt the butter and measure out my dry ingredients. In a bowl I had plain flour, sugar ( I just used caster sugar, Nigella's recipe doesn't specify the type), salt and yeast. I mixed them together and left the bowl to the side to get the wet ingredients ready.

In another bowl I poured in the milk and cracked in two eggs. Then I took the cooled melted butter and poured this in.

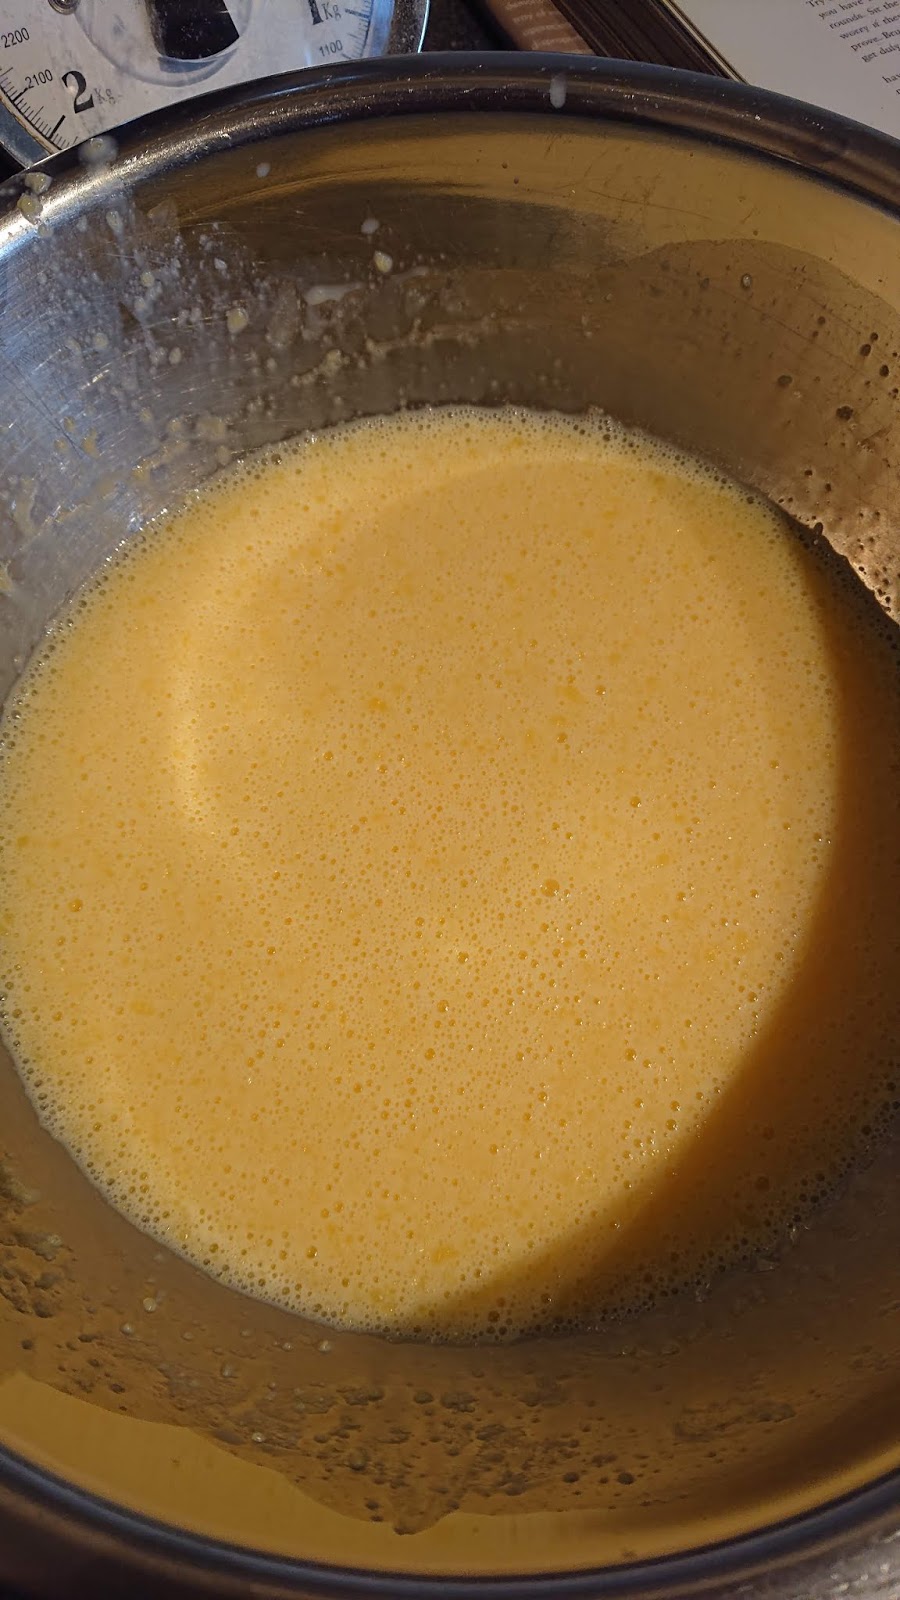
This was whisked together to form a golden liquid.
Now this is where things took a tragic turn. I added this whole bowl: 400ml of milk, 100g of melted butter and two eggs into my bowl with the flour, sugar, salt and yeast.

And because I didn't have the dough hook for my stand-alone mixer, I used a spatula to mix it.

When I noticed things were not going well, I switched to a wooden spoon because I thought that would be sturdier. I made sure all the dry ingredients were soaked in the golden liquid and ended up with a very runny mixture.

At first I blamed the missing dough hook because in my mind I thought that would have been strong enough to mix the dough and create something more firm and cohesive. Especially after I had read the book over and over to check I got all the measurements and method right. But the book showed no fault. So I kept mixing with the wooden spoon and after a few minutes more I moved to kneading.
The whole dough just collapsed on me and slumped on the kitchen surface. This was when I started having my panic attack.
I was ready to throw the dough away, but then the light bulb switched on and I knew what to do! However, I was uncertain it would work with a dough containing yeast. Scraping and sliding the dough back into the bowl, I added lots more flour - would say around 500g more, to make the dough firm. With each addition, I made sure to mix vigorously with the wooden spoon until it looked like a normal dough - thank God!

I then went back to kneading it properly on a very floured surface for around ten minutes. When the dough was springy, I rolled it into a ball and placed it into a bowl I had lightly buttered.

This was covered tightly with cling film and put to the side to rise for 25 minutes.
In the meantime, I pre-heated the oven to 230 degrees and cleaned the kitchen because there was dough on the surfaces, cupboards, floor and my hair.
Next I moved on to the best bit: the cinnamon filling. This involved putting very soft butter, caster sugar and cinnamon in a bowl.

Like you would do with a cake, I creamed this together until it was light in texture.

This bowl was put to the side and I picked up my bowl of rested and risen dough.
Measuring my ball of dough, I divided it into 3 500g balls. Taking my first ball I placed it on a floured kitchen surface and rolled it out until it was the same size as my oven dish. The dough was placed to snuggle at the bottom of an oven proof dish that was lined with baking parchment overlapping at the sides.

This slab of dough forms the base of each cinnamon bun.
Then taking the rest of the dough, I rolled it into a 50cm x 25cm rectangle. Well I tried as best as I could to make it a proper rectangle, but got a rectangular shape.

Taking the cinnamon butter mixture, I spread this over my rectangle.

Then using a palette knife, I spread the cinnamon butter like Nutella on toast. If you find the cinnamon is not spreading easily, warm the palette knife either in some hot water, or with the fire on low, hold it over the hob, moving it up and down to warm the whole blade.
I did the latter and was able to create a smooth, even spread.

Now to roll up the dough. Going from the longest side, where it measures 50cm, I rolled the dough into a very long sausage.

Using my mezzaluna, which is a sharp curved blade with a handle at each end, I cut the dough sausage into 2cm slices. Nigella's recipe says it'll make around 20 slices, but mine made around 30. My oven dish wasn't big enough for all of them, just 15, so I put the remaining ones into a brownie tin.


Cracking an egg into a small bowl, I used it as a glaze on top of the unbaked buns and left them for 15 minutes so they could puff up.

I then put them into the oven for 25 minutes. During this time, the kitchen was perfumed by the sweet smell of cinnamon and baked yeast. A bit like walking into a bakery first thing in the morning while wearing cinnamon scented perfume.
They looked absolutely gorgeous to me when I took them out the oven: golden, caramelised beauties. Nigella does say they will catch in some places, as did hers, and mine definitely did. But it was those parts I was looking forward to eating the most.

The last time I baked with yeast was probably 10 years ago, making the most dry bread, so it was no surprise that I struggled with these. And yet, after all the panic, they were such a delight to eat. You know what else? Once you've overcome the whole adding of the wet to dry ingredients, it's a very simple recipe, with most of the time going into letting the dough rise. I was very proud of them in the end because we buy cinnamon buns in the shop all the time, and it was nice to make them at home and have a surplus supply at our fingertips. My dad loves pastries and I got his approval. As soon as you rip into them, you get the lightest, bouncy pastry. I recommend eating them warm, because then it just melts in your mouth. Completely cooled is delicious too, especially with a cup of tea or coffee. Yes, I will be making these again - not adding all the liquid of course.
Makes: 20-30 buns
Prep Time: 1 hour
Baking Time: 25 minutes
Ingredients:
For the Dough:
- 100g Unsalted Butter, melted
- 600g Plain Flour
- 100g Caster Sugar
- 1/2tsp Salt
- 21g Easy Blend Yeast
- 400ml Milk
- 2 Eggs
For the Filling:
- 150g Unsalted Butter, soft
- 150g Caster Sugar
- 1 1/2tsp Ground Cinnamon
- 1 Egg, beaten
Method:
- Melt the butter on low and leave it to cool.
- Measure out all the dry ingredients: the plain flour, caster sugar, salt and yeast, and place them into a large bowl and combine.
- In another large bowl, pour in the milk, crack in the two eggs and pour in the melted and cooled butter. Whisk together until the eggs are beaten and you are left with a golden liquid.
- Either using a standalone mixer with a dough hook, or a wooden spoon, slowly pour the golden liquid into the dry ingredients, while constantly mixing until enough has been added to clump together and form a soft dough. If you have added too much liquid, add in some more plain flour until the dough is no longer wet and sticky.
- Knead the dough, either in the standalone mixer or by hand on a floured surface until it's springy and smooth.
- Place the dough into a lightly oiled or buttered bowl and tightly cover with clingfilm. Leave this for at least 25 minutes to prove.
- Meanwhile, pre-heat the oven to 230 degrees and prep your oven dish by taking parchment paper, lining it with the base of your dish, and making sure it overlaps on the sides.
- Also make the cinnamon filling. Place the softened butter, caster sugar and ground cinnamon into a bowl and cream this together until smooth and light. Place it to one side.
- After its proving, take one-third of the dough and roll it out on a floured surface so it fits the base of the oven dish you are using.
- Take the remaining two-thirds of the dough and roll it out into a large rectangle measuring 50 x 25cm. Then taking the cinnamon filling, spread it out evenly all over your large rectangle.
- Going from the longest side (50cm long), roll up your rectangle until it forms a long sausage.
- Cut the dough sausage into 2cm slices and neatly line them on top of the dough base in the oven dish, swirl side up.
- Brush the tops of the rolls with a beaten egg and leave it to rest and rise for 15 minutes.
- After the 15 minutes, place them into the oven to bake for 25 minutes. The rolls should have grown in size and become golden. Don't worry if some parts come out darker.
- Lift the buns from the oven dish using the overlapping bits of parchment paper and serve either warm or completely cooled.


Comments
Post a Comment