10th Birthday Cake
It was my brother's birthday this month. He was the big 1-0 so he needed a big cake. Well actually, this cake is not so large, but it requires a bit of skill. It was more of a big step up in baking for me. Making buttercream meringue. Now don't get frightened, if you can make pavlova, you can make this buttercream. I got this recipe on the BBC Good Food website: 'Vanilla Party Cake'. It doesn't look as smooth and perfect as the one on the Good Food website, but I'm sure it tastes just as good (or even better). I wanted a messy, swirly, natural-looking buttercream anyway! There are 2 things to make sure you do when making a buttercream meringue. One is when you're whisking the egg whites and sugar on the hob, you make sure all the sugar has dissolved. Otherwise the buttercream will be gritty. Two, is to keep whisking until the meringue is thick and large in volume. You don't want a thin, limp buttercream. Smooth, glossy and creamy is what you're aiming for. As for the cake, it only uses egg whites too. So the inside of the cake is paler than your average golden crumb, but the egg whites are what make it so light and moist, a bit like those egg-less cakes. It is a very sweet cake, next time I make it, I think I'll put a layer of tart fruit jam in between the cakes to cut that sweetness. But with a cup of tea or coffee, it's great.

Starting with the cake. I beat the softened butter with caster sugar in the mixer until it came out really pale and creamy.


Next was to add vanilla and the egg whites one at a time. After adding each egg white, I made sure it was mixed in properly with the butter and sugar. 5 egg whites later, the dry ingredients were ready to go in.
The dry ingredients were a mix of plain flour, cornflour and baking powder. This isn't all dumped into the mixing bowl. I added it in a few tablespoons at a time, mixed it in, then added a couple tablespoons of buttermilk. I continued with this alternation until all the buttermilk was finished and all the dry ingredients were finished.
 |
| Buttermilk |
 |
| Dry Ingredients |
When all of it was mixed together, the volume of the batter increased and was an ecru colour.

This was poured into sandwich cake tins that were lined and greased with butter. You have to grease the parchment paper too apparently. I think because of the use of egg whites, but I'm not really sure...

They were baked in a 180 degree oven for 30 minutes. I made sure to check them with a toothpick after. They actually weren't ready for me, so I put them in for 10 minutes more. After that, the tops were firmer and the inside baked.

They were left to cool completely for the rest of the day.
About an hour before it was time for the birthday boy to cut his cake, I started making the meringue buttercream. Into a bowl went egg whites, caster sugar and the seeds scraped from a vanilla pod.

Over a pan of simmering water, I sat this bowl. Then using the electric hand whisk, I whisked them together.

I kept whisking until all the grains of sugar had fully dissolved. This will take at least five minutes. To test if all the sugar had dissolved, I dipped a clean finger into the mixture and rubbed it between my fingers. It felt gritty so I kept on whisking. All the while, the heat was on low on the hob, so the water in the pot was still simmering. When all the sugar had melted, I took the bowl off the simmering pan of water. By then, the mixture had puffed up in volume and become silky, white marshmallow fluff. I couldn't resist, I had to have a taste - melted in the mouth! I could of eaten a whole bowl of it.

The whisking still wasn't over. I kept whisking and whisking until the marshmallow fluff came to room temperature. This takes time, it took at least 15 minutes and it was a very hot day in a warm kitchen. You need to patient, but once you dip your finger in there and it's cool, you're ready for the next step.

Still whisking (keep up with me!) I added softened butter a tablespoon at a time, making sure to mix in each tablespoon properly before adding the next one.

Finally, the last tablespoon was added along with a teaspoon of vanilla extract. I turned off the electric whisk that had been drilling in my ear for half an hour. The meringue buttercream was thick and creamy. If yours isn't thick, leave it to cool for ten minutes, then whisk again until it's thickened.

Now to assemble the cake. On the plate I put a blob of the icing so the cake would not slide around. On went the first cake and on top of this, I put a thick layer of the buttercream. This is where I made the mistake of asking my brother if I should put jam in the middle. I'm doing it next time! Then on top of that went the second cake. The rest of the meringue buttercream was smothered all around the cake until a nice layer had formed. Like I said before, I designed my buttercream to give it a swirly natural look. Then I sprinkled the fruity confetti on the top and sides. It was hard sprinkling them on the sides without making a mess, but it all helped with the naturalness of the cake.

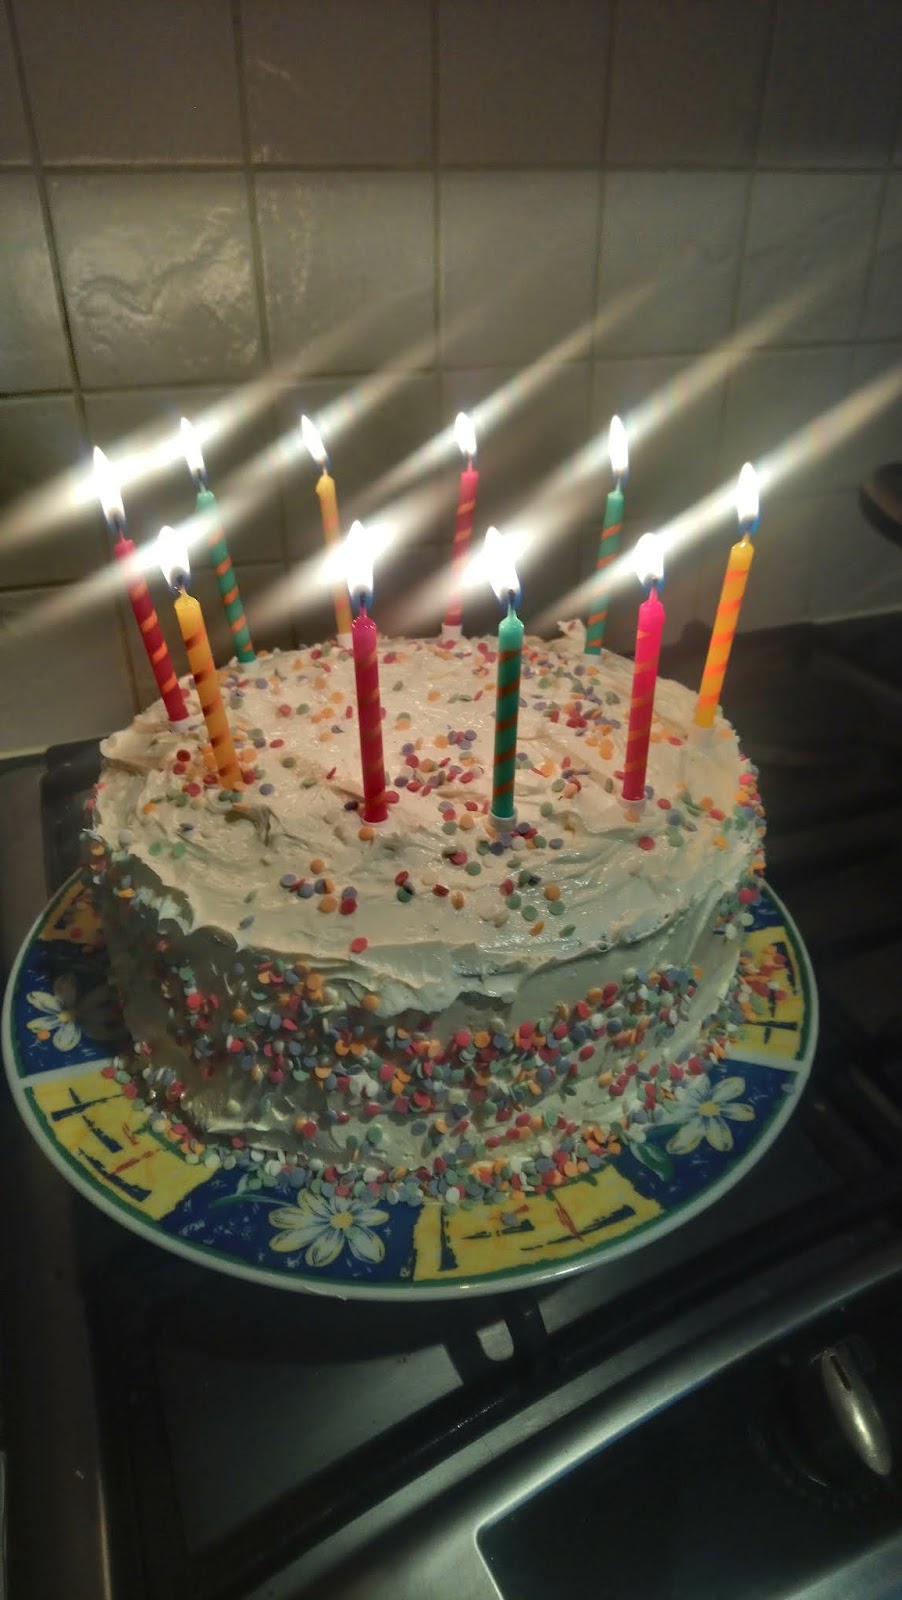
Ten candles were propped on top and it was ready for it's revealing.

A bright and beautiful cake isn't it? The fruity confetti along with candles gives it some life against the plain, white icing.
I've watched meringue buttercream being made and it's definitely easier than it looks. Once you've melted all your sugar on the hob, it's a breeze. It's not something you need to rush, nurse it and it will deliver. If you don't have an electric whisk, I wouldn't recommend you making a meringue buttercream. I prefer the taste of it to your normal butter and icing sugar buttercream. It's sophisticated and that's why it belongs on Sophistibakes.
Ingredients:
For Cake:
- 225g Unsalted Butter, softened

- 350g Caster Sugar
- 1tbsp Vanilla Extract
- 5 Egg Whites
- 325g Plain Flour
- 25g Cornflour
- 1 1/2tbsp Baking Powder
- 250ml Buttermilk

For the Meringue Buttercream:
- 3 Egg Whites
- 240g Caster Sugar
- 1 Vanilla Pod, seed scraped out
- 360g Unsalted Butter, softened
- 1tsp Vanilla Extract
- Edible decorations of your choice
~ Pre-heat oven to 180 degrees


Comments
Post a Comment